uv syncHow to set up your Academy project in Positron
Follow the instructions below to set up your Academy project in Positron. You will first need to be logged in to Posit Workbench at dev.posit.academy.team.
NoteOne-time setup
You only need to do this once to set up your project. After that, you can continue to work on your project in Positron without needing to repeat these setup steps.
Instructions
ImportantR or Python?
👇 Select the appropriate option below, depending on whether you are enrolled in an R or Python course.
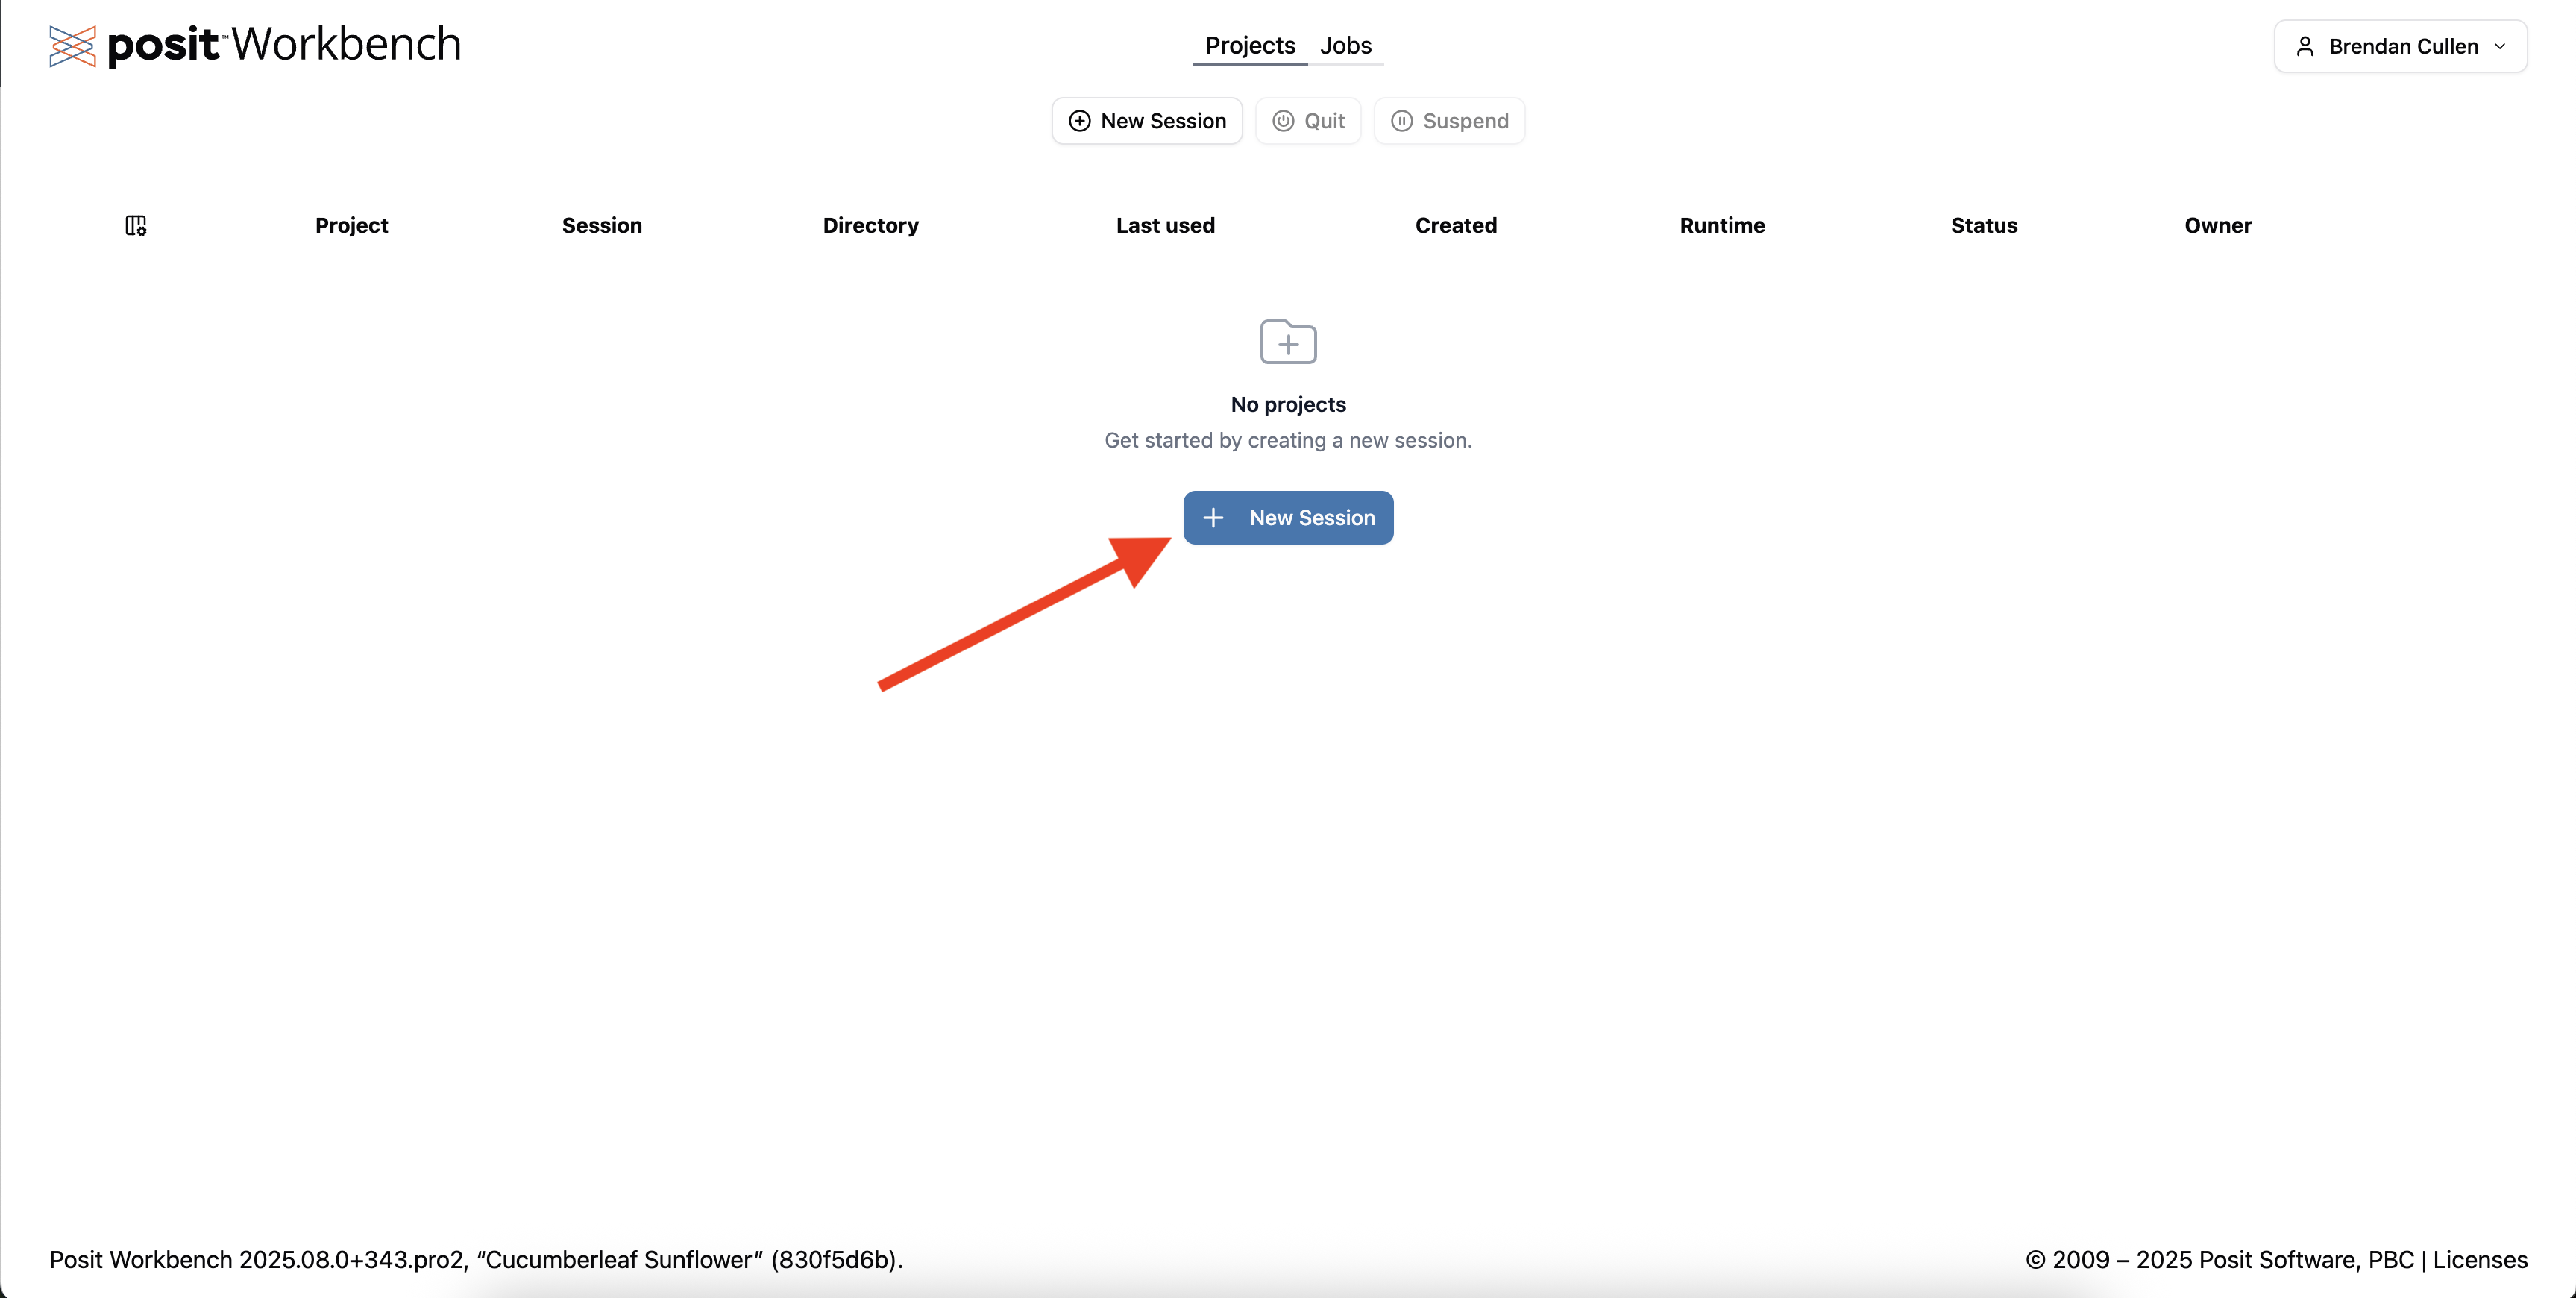
Click New Session.
Click Launch. Keep all of the default settings as they are.
- The IDE should be Positron Pro.
- The Resource Profile should be set to
1 default. - You can leave the Session Name as the default (“Positron Pro Session”) or change it if you prefer.
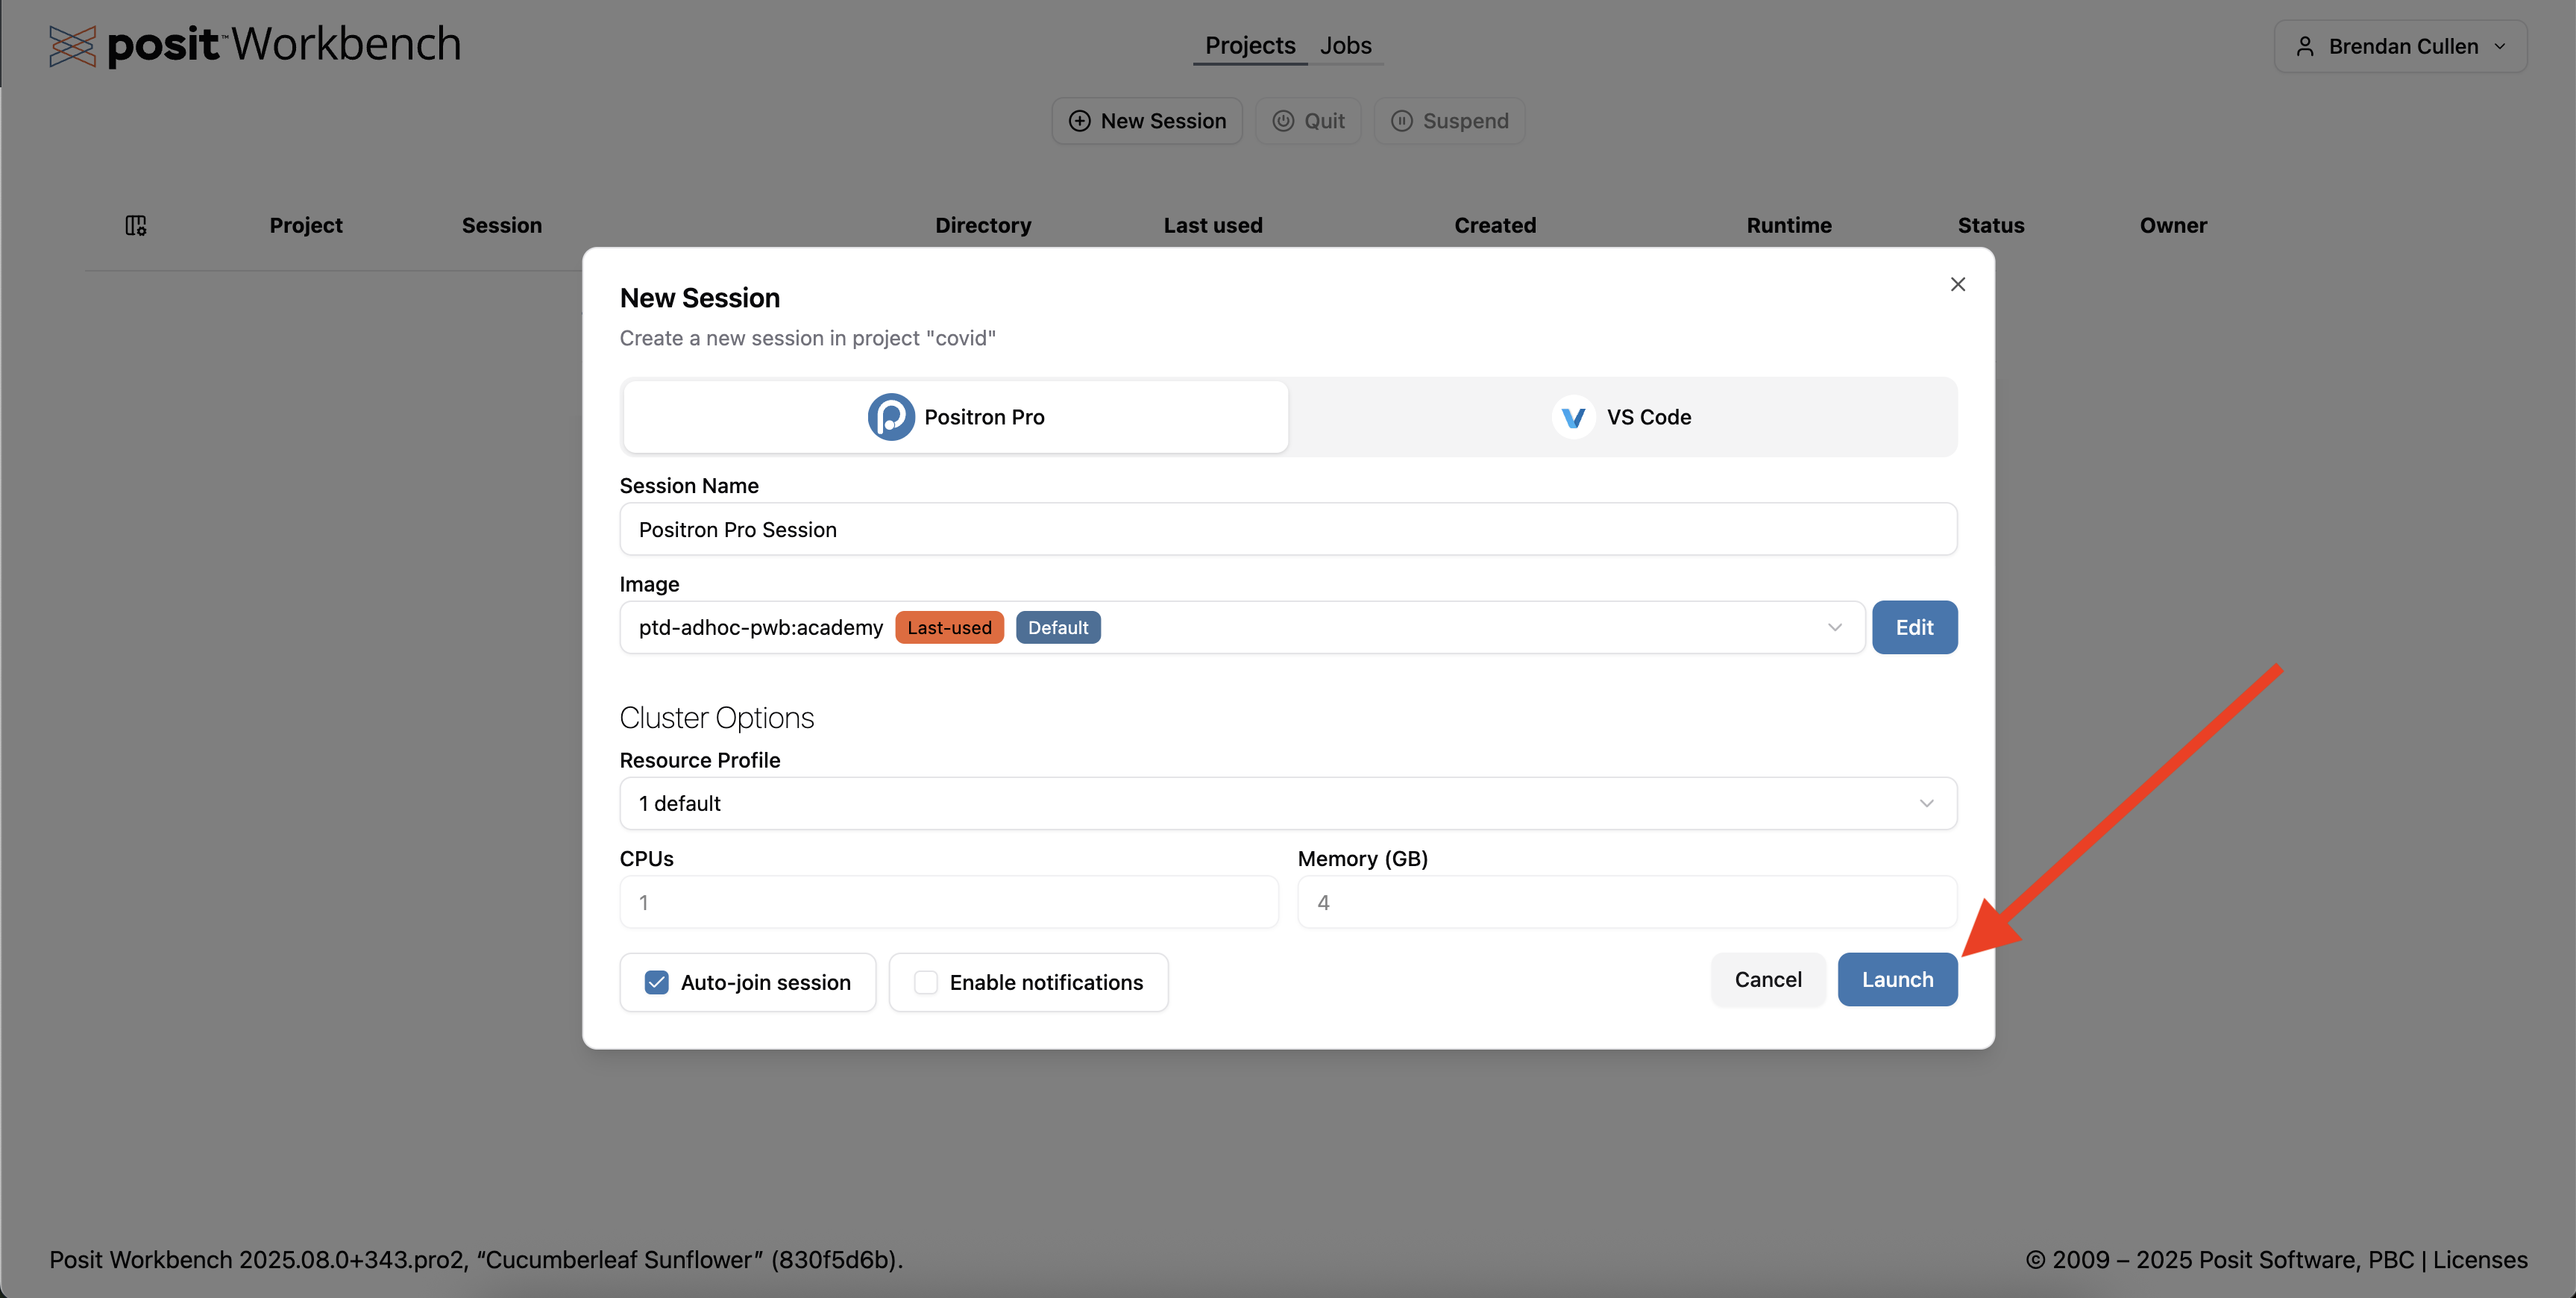
This will launch a new Positron session in Posit Workbench. Click New from Git.
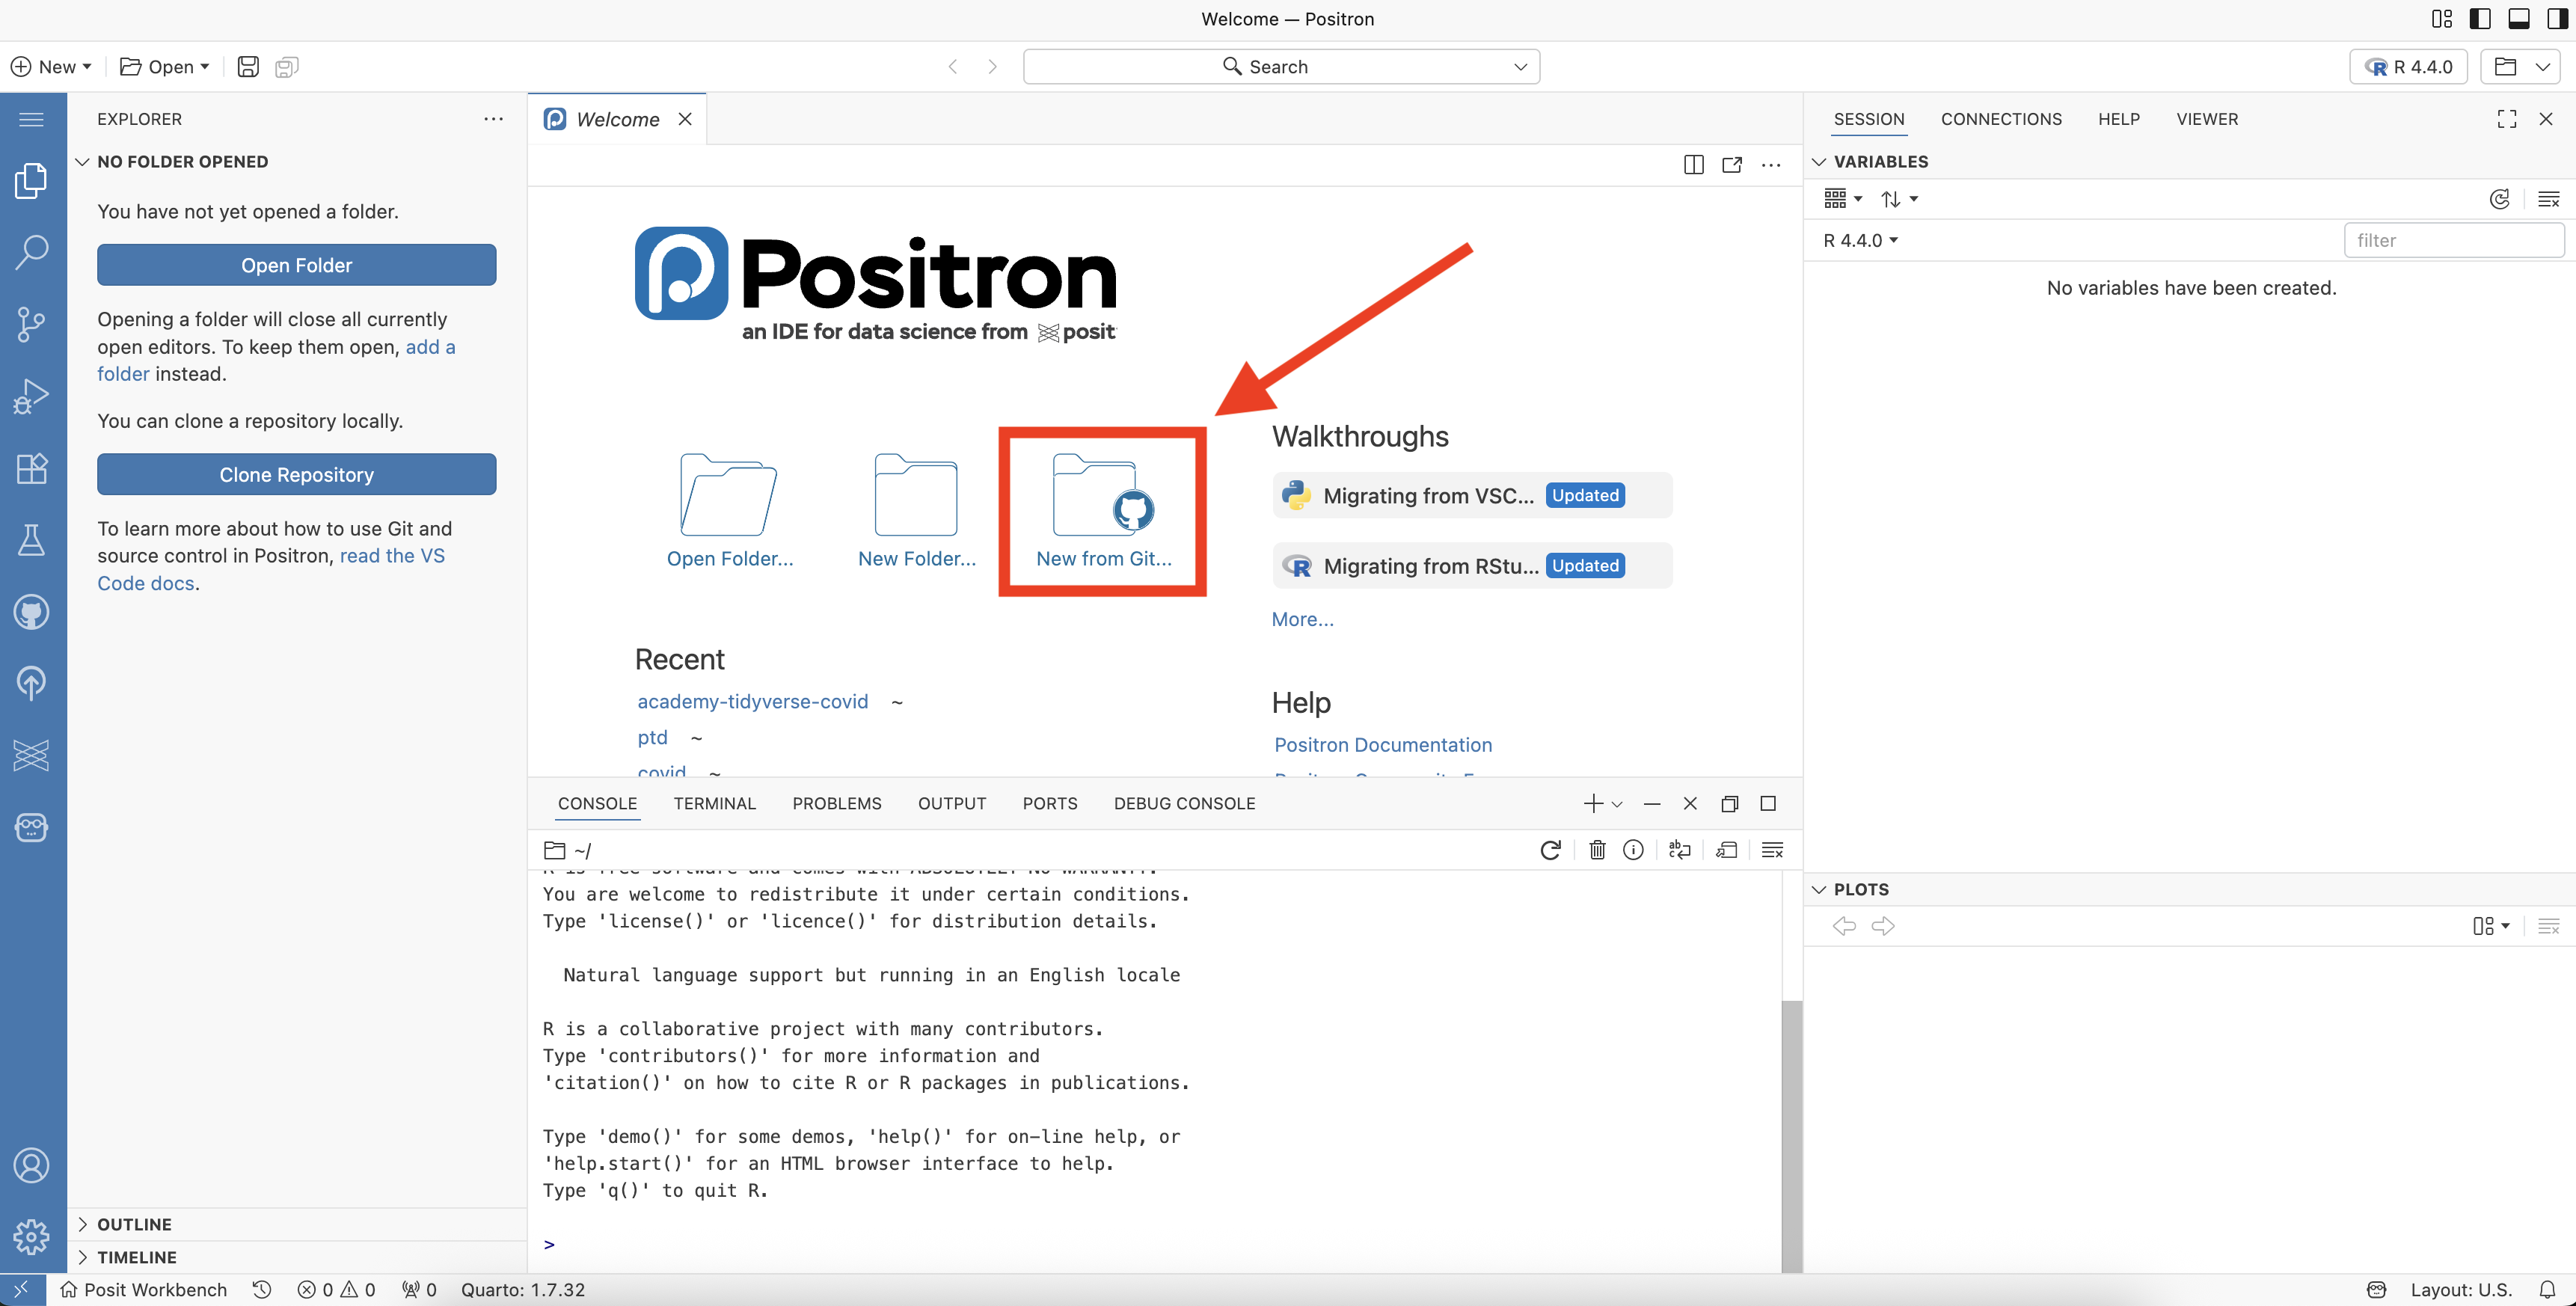
Clone your project files from Github
- Copy and paste the URL for the Github repository that contains your project.
ImportantGithub URL?👉 Your mentor will provide you with this Github URL at the beginning of your course (please reach out to your mentor if you do not have it.) You do not need your own Github account.
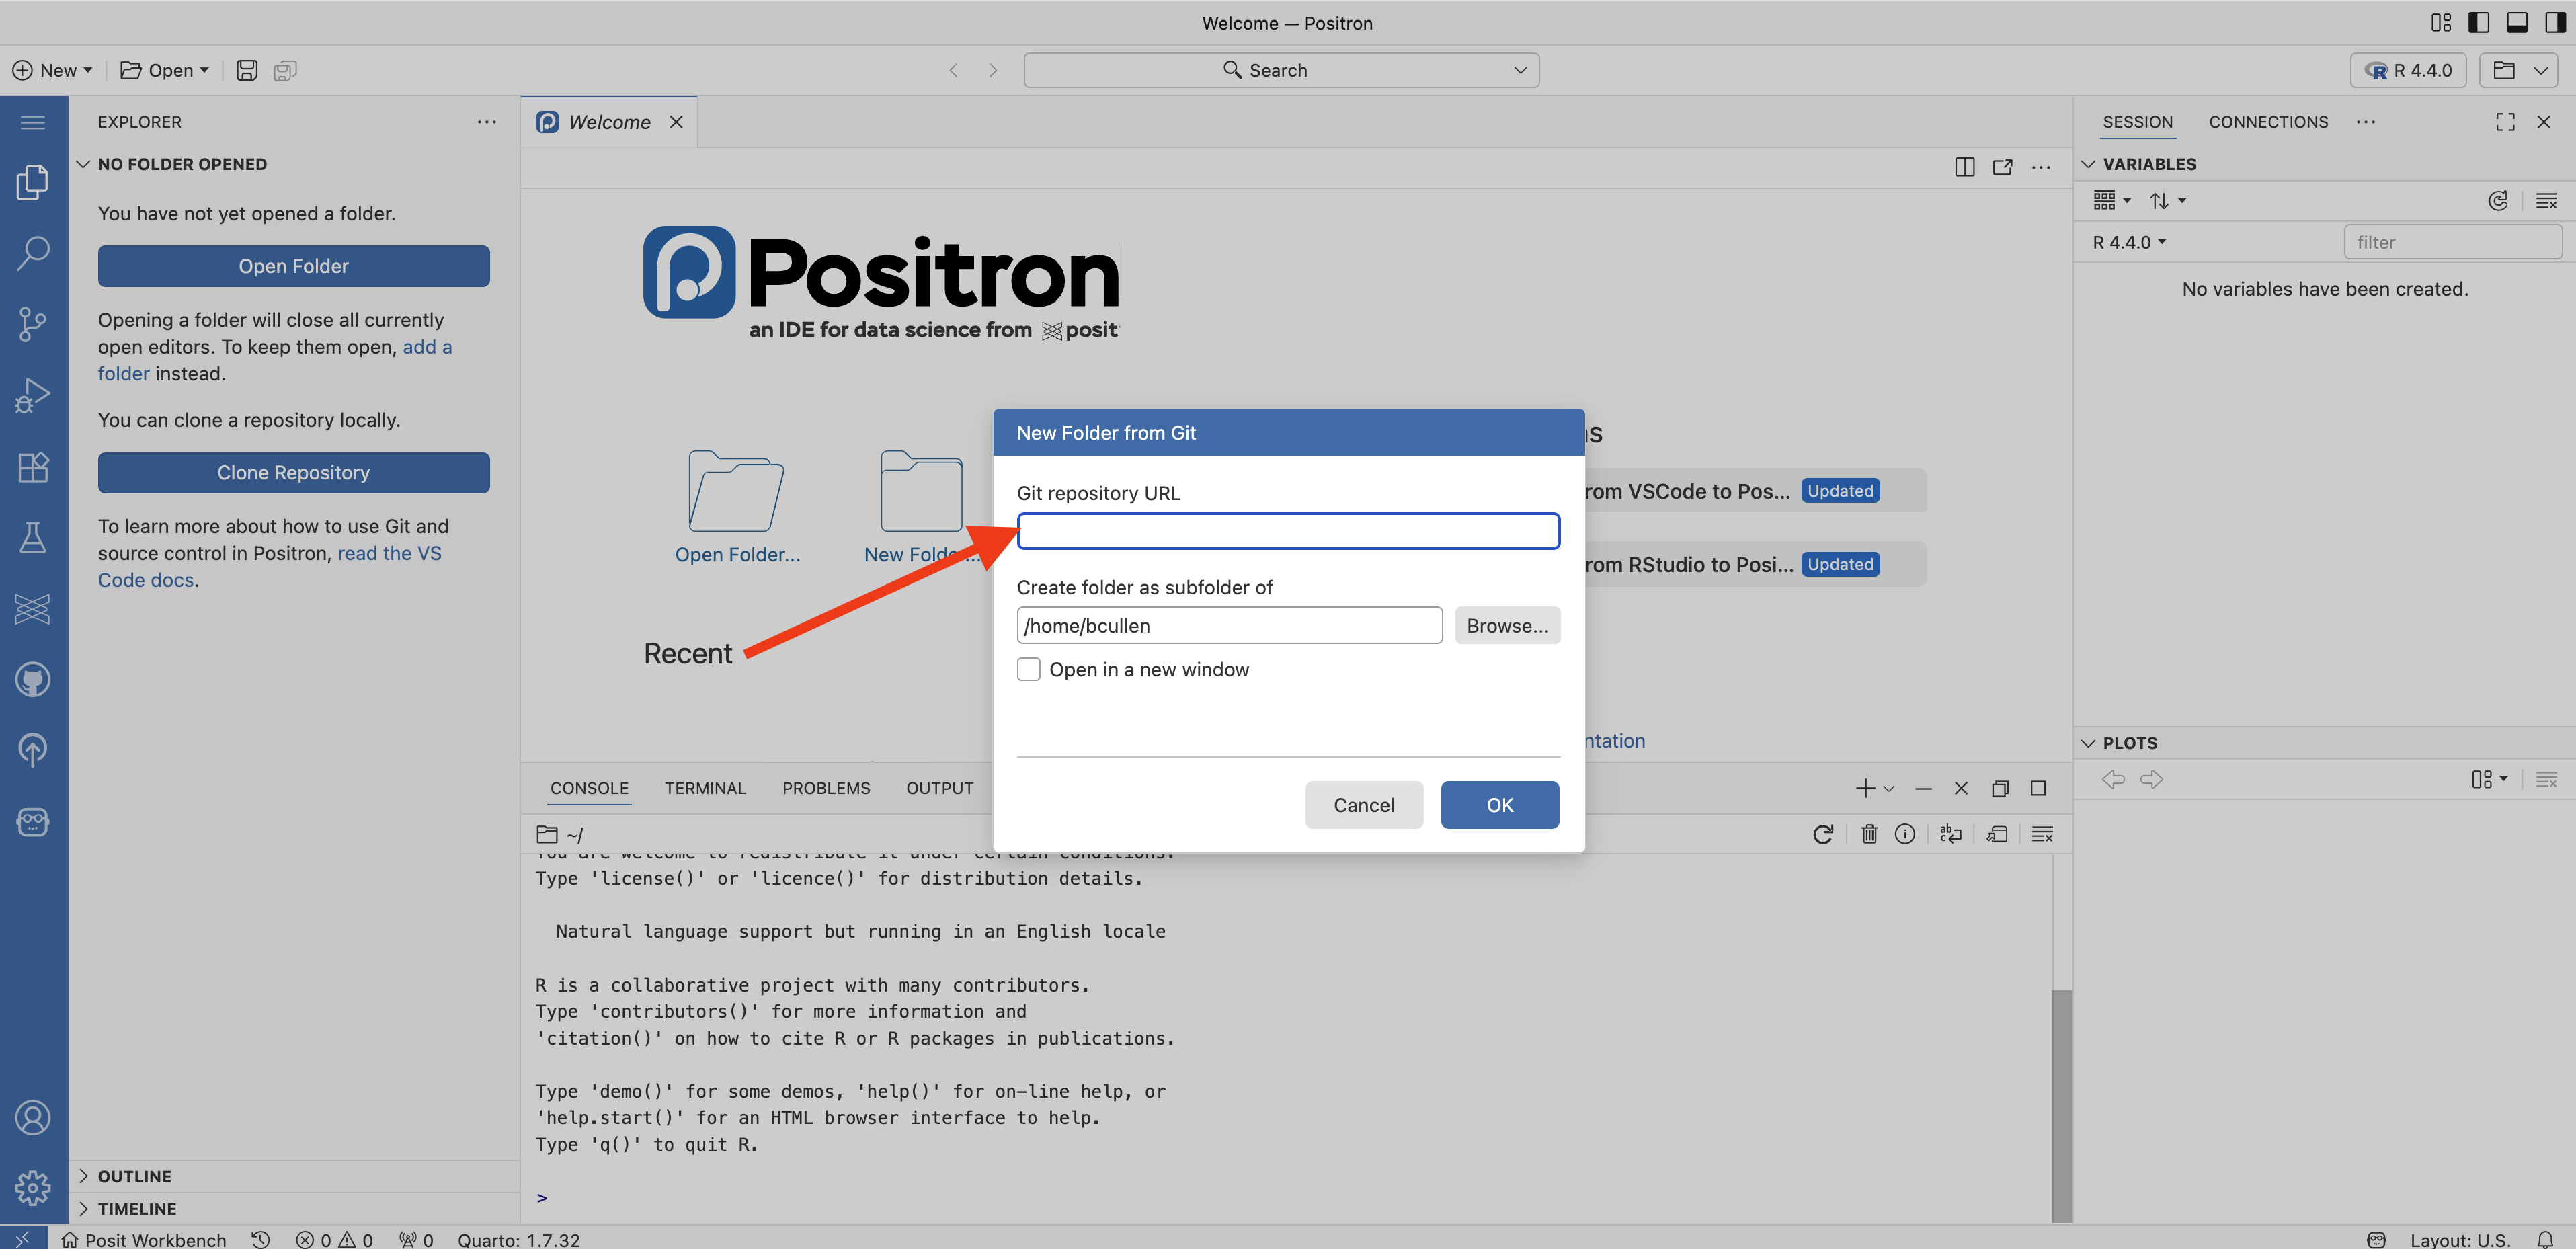
- Click OK. This will clone the repository into a new folder in your working directory. You should see your project files appear in the Explorer tab in the upper left of your IDE.
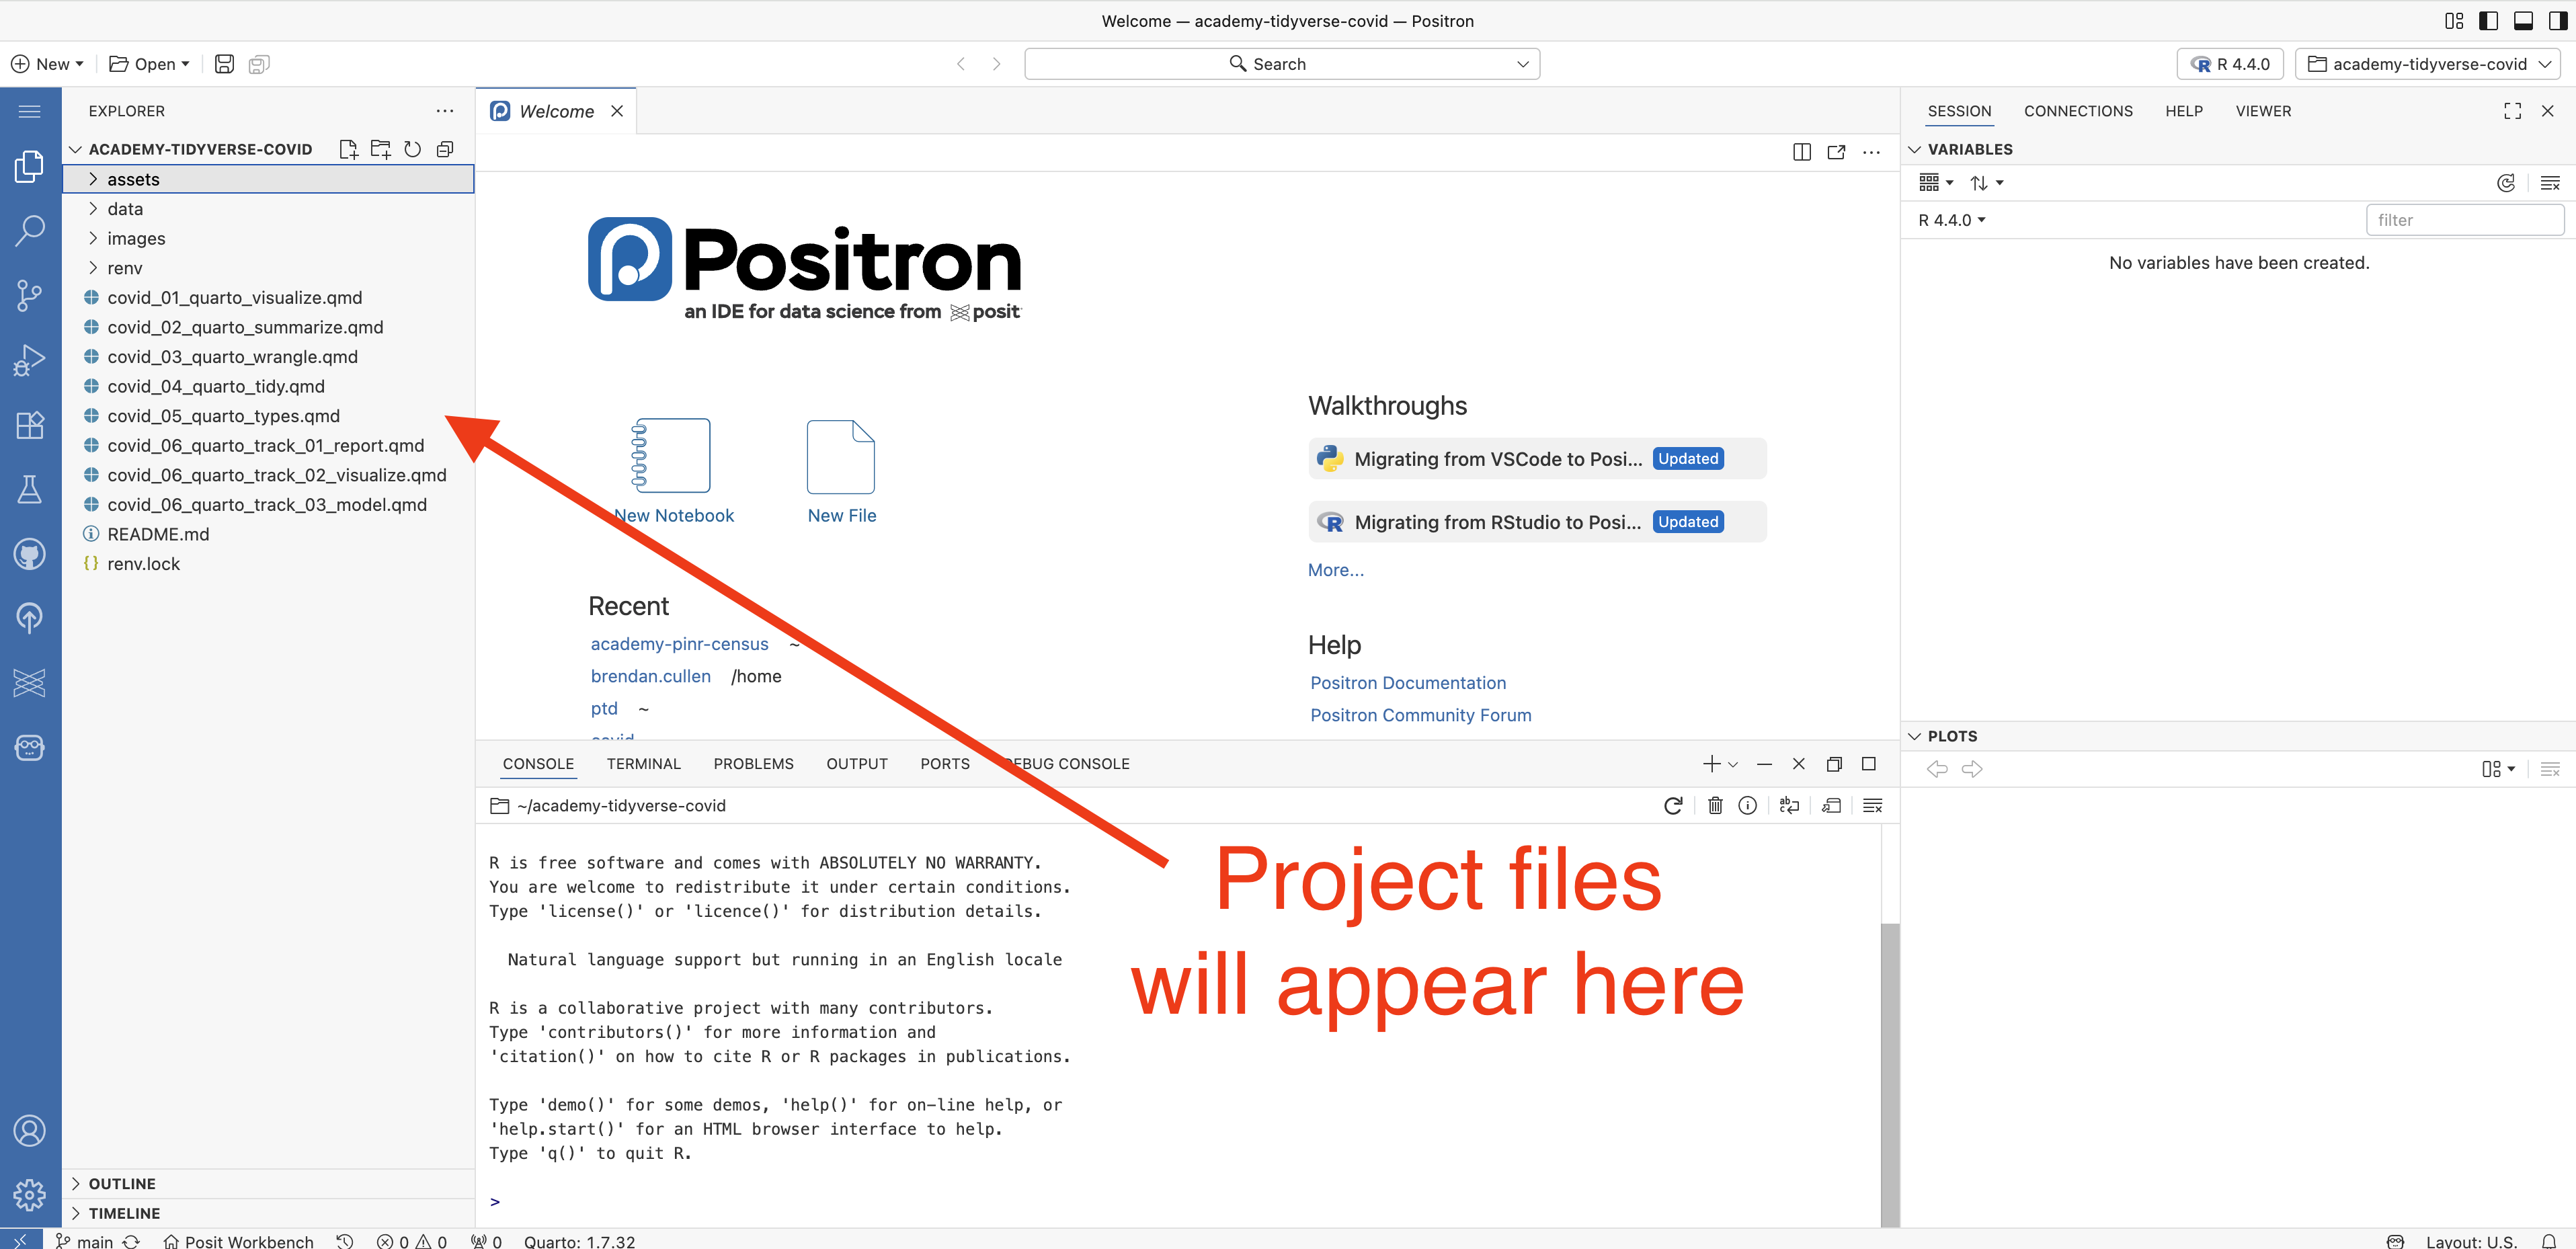
Install R packages with
install.packages()Run the following command in your Console to install a set of R packages you will need for this project.
install.packages(c("broom", "gt", "knitr", "rmarkdown", "tidyverse", "waldo"))NotePlease be patientThis may take several minutes to complete.
Click New Session.
Click Launch. Keep all of the default settings as they are.
- The IDE should be Positron Pro.
- The Resource Profile should be set to
1 default. - You can leave the Session Name as the default (“Positron Pro Session”) or change it if you prefer.
This will launch a new Positron session in Posit Workbench. Click New from Git.
Clone your project files from Github
- Copy and paste the URL for the Github repository that contains your project.
ImportantGithub URL?👉 Your mentor will provide you with this Github URL at the beginning of your course (please reach out to your mentor if you do not have it.) You do not need your own Github account.
- Click OK. This will clone the repository into a new folder in your working directory. You should see your project files appear in the Explorer tab in the upper left of your IDE.
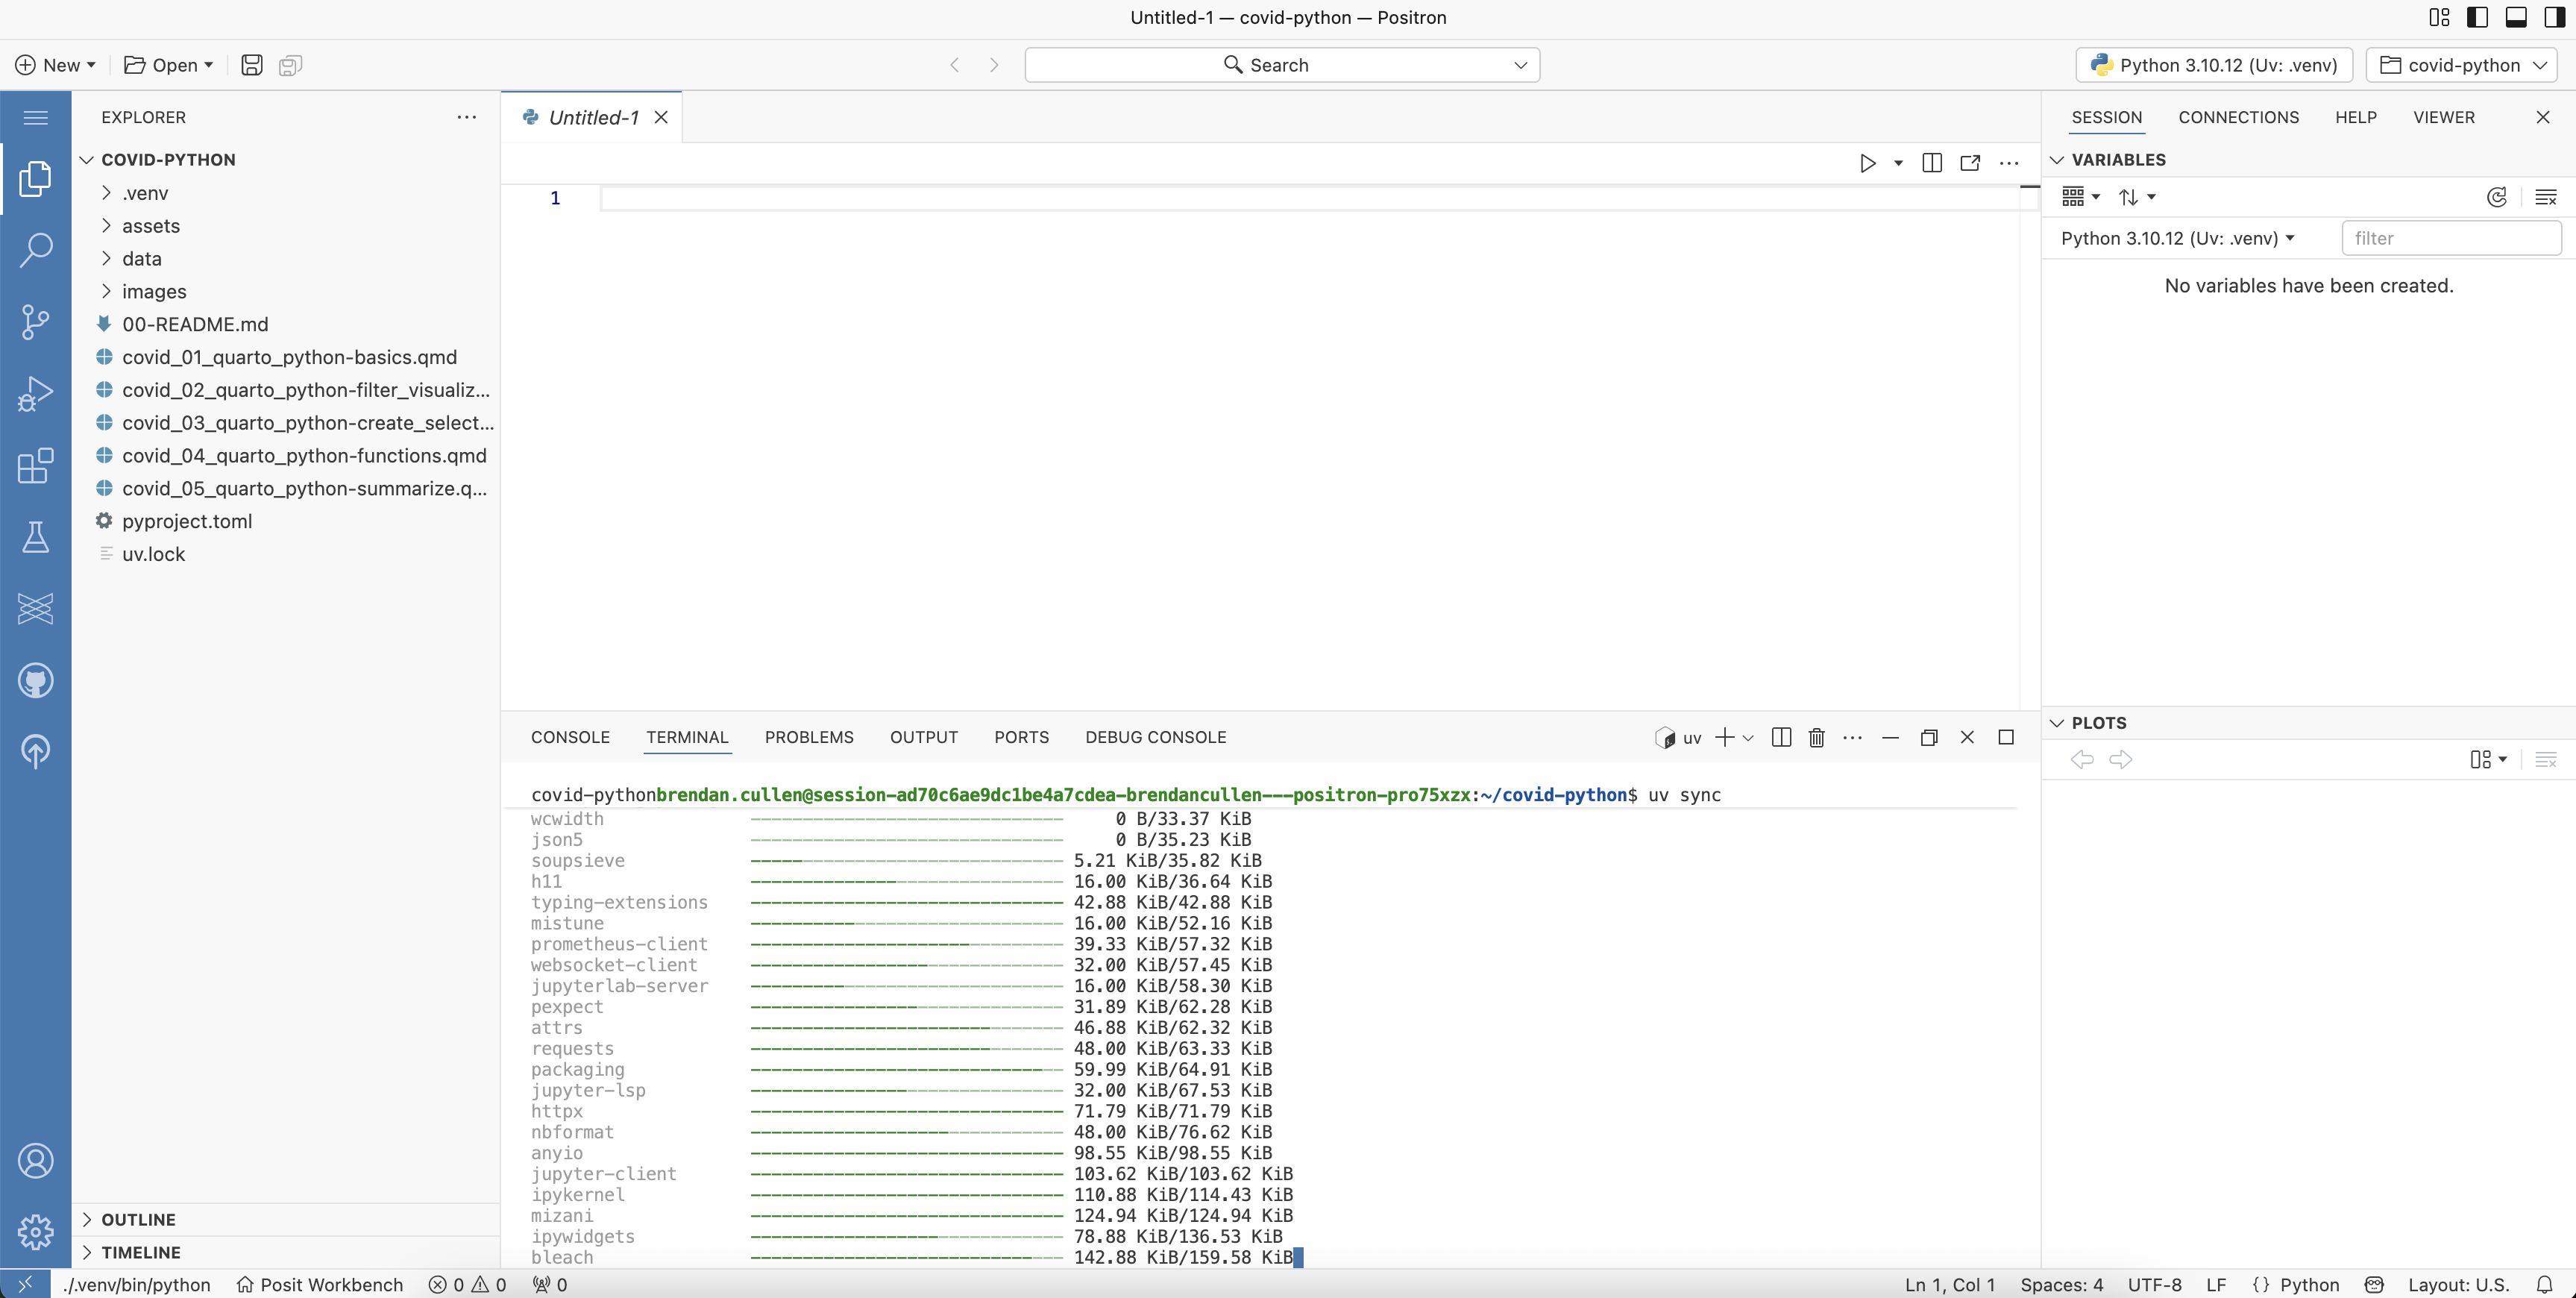
Install Python packages with uv.
Click on Terminal at the bottom of your IDE (right next to the Console tab) to open a Terminal window.
Run the following command in your Terminal to install the set of Python packages recorded in the
uv.lockfile:
⏰ Note: This may take several minutes to complete.
WarningOne milestone at a time
Once you have set up your project in Positron, you will have access to all of the milestone files for your project. However, we encourage you to only focus on the milestone for the current week of your course.
Milestone files are numbered according to the week of the course, e.g.
- Week 1 milestone =
*_01_quarto_visualize.qmd - Week 2 milestone =
*_02_quarto_summarize.qmd - etc.
Returning to your project
Once you have set up your project in Positron, you will find it under the Project column of the landing page at dev.academy.posit.team.
To resume working on your project, click Create new session next to your project name. This will automatically open a new Positron session with your project files loaded in your working directory. You may also have the option to simply click on a pre-existing session and resume that session.

TipNext steps
For next steps, see How to: Use Positron.